Purpose of the application
This database has been made to help in the sharing of custom character portraits for the game Neverwinter Nights produced by Bioware.
How it works
The database functions by registered users uploading their custom .tga portraits.
These are made into "Portrait sets" which are physically stored on the server.
They can then create a new "Character" with the same name as their in-game character, and pick the Portrait Set they've just uploaded.
It is also possible to pick from Portrait Sets uploaded by other users.
The server now have the portraits categorised, and other users can, if they see a missing portrait ingame, search for that particular character and find the image files required.
Here is a functionality overview.
Screenshots
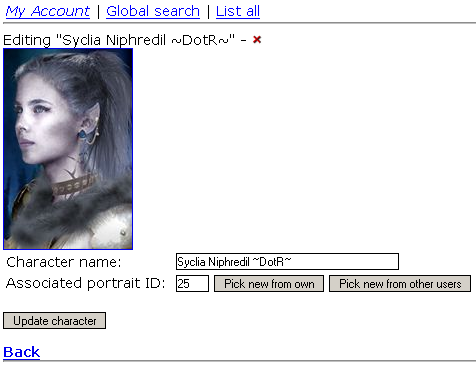
Editing the character
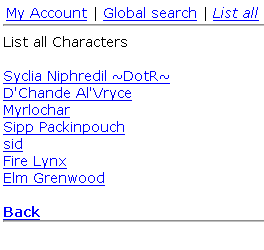
Listing all characters
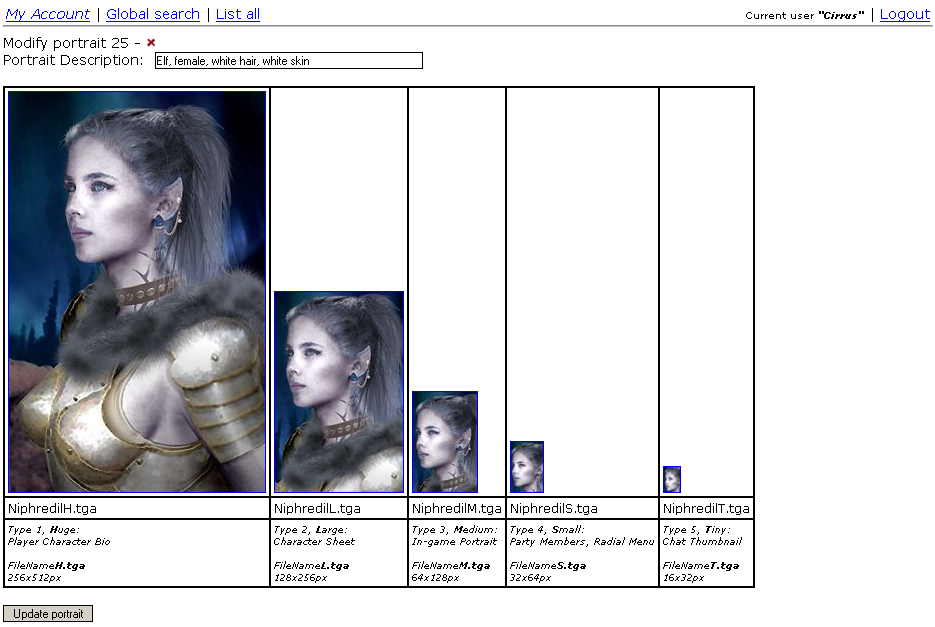
Modifying a portrait
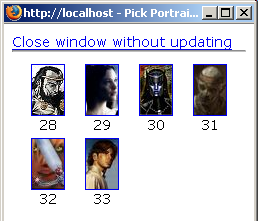
Picking new image for portrait set
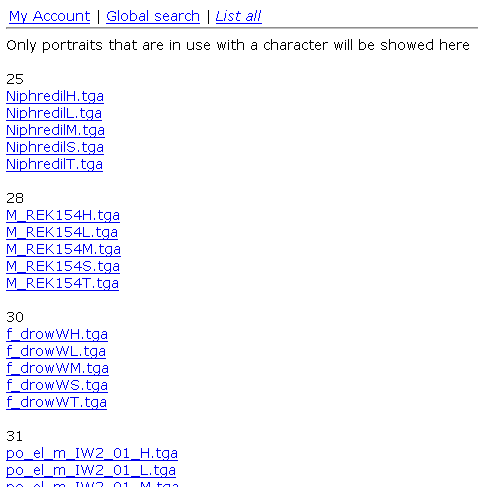
List all portraits in use
Requirements
- IIS 4.0 or above with Microsoft Jet OLEDB 4.0 database connectivity
- GFL SDK for .tga support see here
- ASP SmartUpload for file upload
On the example code an database
You may use the username "Cirrus" and password of "a" to test the application.
Please note that the database uses a mild encryption, therefore the password
is not stored as clear text.
Files
The following contains all necessary files for the portrait application (excluding the plugins mentioned above)
portraits.rar
User guide
How to get started
*Go to the webserver adress
*Register yourself an account. (Email recovery system is not yet functional, but PLEASE provide the correct email anyway. All passwords are encrypted in the database and so it will be the only way to recover/restore it
)
*Login
*After login you will be presented to the database´s interface.
How to upload portraits
(It is easiest to upload a portrait set first, and create the character afterwards. But the result is the same)
Go to "My account" (should be active as standard)
Click "Submit new portrait"
You are now presented for the upload file part. Here you should specify the 5 files for the portrait set. Please make sure that you pick ALL images for the set.
The order in which you choose does not really matter, as the upload script sorts them automatically.
Double-check that you have picked the correct files and click "Upload"
The upload process will now begin. I cannot stress this enough. You will not get any response during the upload. WHEN the upload has finished, you will be presented with a list of the files uploaded and their properties.
If you did not pick the right images for some of the types, it is no catastrophy.
After you press continue you will be presented for the "Modify portrait" option of the portrait you just uploaded. Here you can specify a description for the portrait (really useful) and pick new images.
To pick a new image for a image type (let´s say you picked the wrong image for the image shown in the radial menu) click the old image. A new window will now popup allowing you to pick amongst images of the same type/size that are present in the database. You can also choose to upload a new image.
After you have made your modifications to the portrait, make sure that all images show up and update the portrait.
How to create characters and associate portraits to them
Select "Create new character" from "My account". You should now write the full name of your character. After you have made your choice, save it.
The character has now been added but still doesn´t have a portrait associated to it.
Pick the new character from the list by clicking on it.
The modify options now come to life and you can edit all available options.
To select a portrait to associate with the character, either click "Pick new from own" or "Pick new from other users".
From own will only display the portraits you have uploaded yourself; Other users will show all the remaining portraits in the database.
This enables users to share their images. I encourage people to look in the database for an exsisting portrait, to keep the database size small.
How to delete a character
Click the little red cross next to the character name from the character list, or in the modify character section. You will be asked to confirm it.